Products
- Introduction
SURFACE ACCURACY TO DIN 876
Design Features
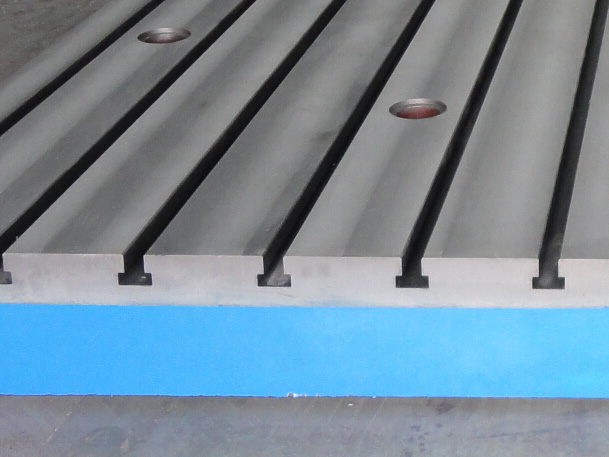
The bottom side of the measuring surface has to be provided with at least three support points. The design of the plate will be such as to allow the forces acting on the table to be directed towards the support points in order to minimize distortion.
Tolerance Tables
Flatness in µm (Metric)
Tolerance Tables
|
DIN 876/III
|
Planed / milled
|
|
DIN 876/II
|
Fine planed / milled, alternatively scraped
|
|
DIN 876/I
|
Fine milled, alternatively fine scraped
|
|
DIN 876/0
|
Fine scraped with bluing
|
|
|
Metric (L in mm)
|
SAE (L in inch)
|
|
DIN 876/III
|
µm = 40 + (L / 25)
|
mil = 1.575 + (L / 25)
|
|
DIN 876/ II
|
µm = 20 + (L / 50)
|
mil = 0.787 + (L / 50)
|
|
DIN 876/ I
|
µm = 10 + (L / 100)
|
mil = 0.394 + (L / 100)
|
|
DIN 876/ 0
|
µm = 4 + (L / 250)
|
mil = 0.157 + (L / 250)
|
Flatness in µm (Metric)
|
L (mm)
|
200
|
300
|
500
|
800
|
1000
|
1200
|
1500
|
2000
|
2500
|
3000
|
3500
|
4000
|
4500
|
5000
|
5500
|
6000
|
6500
|
|
DIN 876/III
|
48
|
52
|
60
|
72
|
80
|
88
|
100
|
120
|
140
|
160
|
180
|
200
|
220
|
240
|
260
|
280
|
300
|
|
DIN 876/II
|
24
|
26
|
30
|
36
|
40
|
44
|
50
|
60
|
70
|
80
|
90
|
100
|
110
|
120
|
130
|
140
|
150
|
|
DIN 876/I
|
12
|
13
|
15
|
18
|
20
|
22
|
25
|
30
|
35
|
40
|
45
|
50
|
55
|
60
|
65
|
70
|
75
|
|
DIN 876/0
|
4.8
|
5.2
|
6
|
7.2
|
8
|
8.8
|
10
|
12
|
14
|
16
|
18
|
20
|
22
|
24
|
26
|
28
|
30
|


